James graduated with a B.B.A. in Finance and spent 9 years split between financial education content and automotive ownership guides. He focuses on budgeting systems, credit basics, simple investing frameworks, and car care that saves money. His buyer’s guides for first-time car owners earned a community choice award from a national forum. He enjoys weekend road trips and vintage camera repairs. James edits money explainers, writes ownership cost breakdowns, and publishes seasonal maintenance checklists.
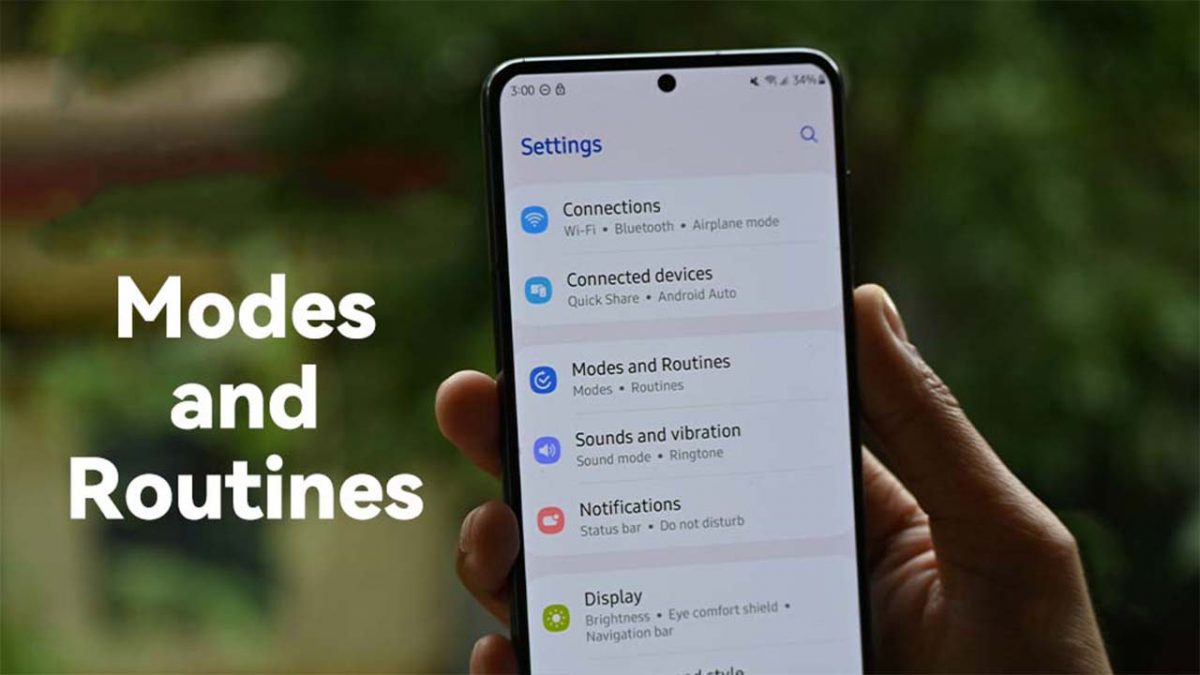
Automate your Samsung Galaxy phone effortlessly with Modes and Routines. Learn to set up custom triggers and actions to simplify your daily digital life.
Learn how to switch your Samsung Galaxy Watch between two phones. This guide details the necessary reset process and clarifies limitations of multi-phone connections.
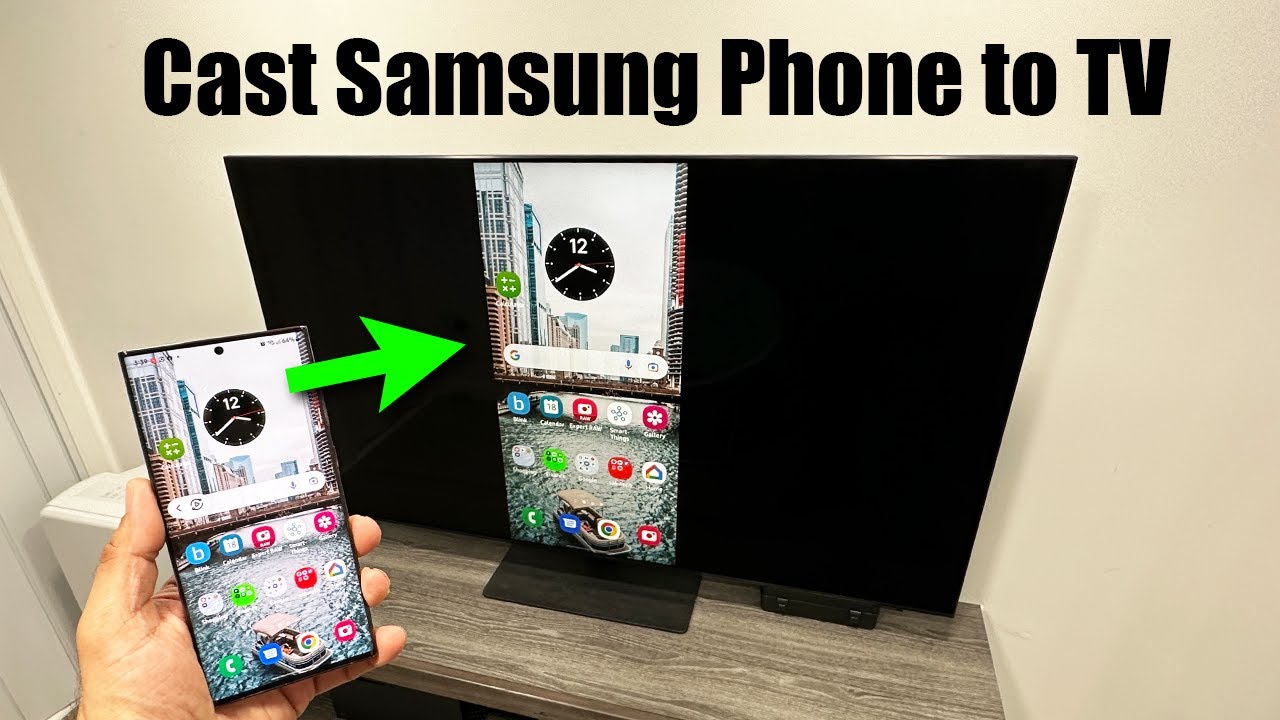
Learn multiple ways to cast your Samsung phone to a Smart TV, including Smart View, Tap View, Google Cast, and wired connections for easy screen mirroring.
Transform your Samsung Galaxy phone or tablet into a desktop experience using Samsung DeX. Learn how to connect wired and wirelessly to a PC or monitor.
Master your typing experience! Learn how to change Samsung Keyboard settings, including languages, layout, themes, predictive text, and more for personalized input.
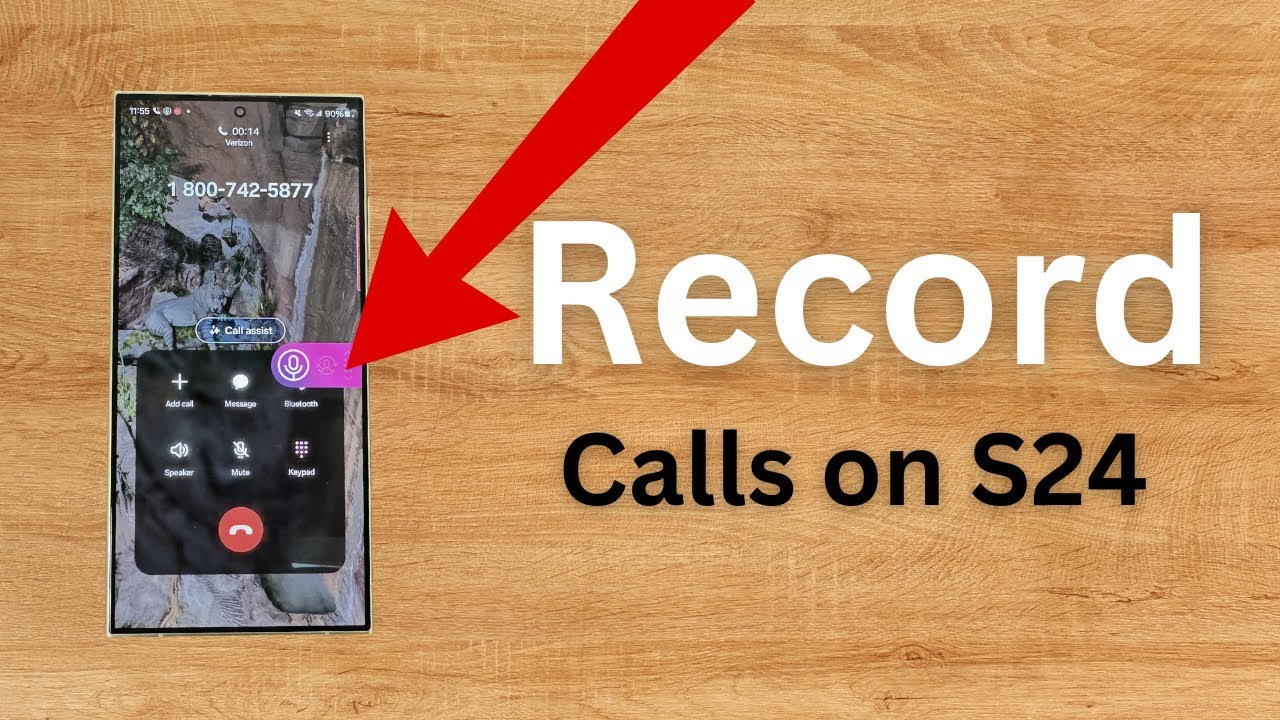
Discover how to activate and use the built-in call recording feature on your Samsung S24 Ultra, and understand the legal considerations for recording calls.
Maximize your Samsung phone's battery life for gaming! Learn how to optimize settings, use Game Booster, and implement key strategies for longer play sessions.