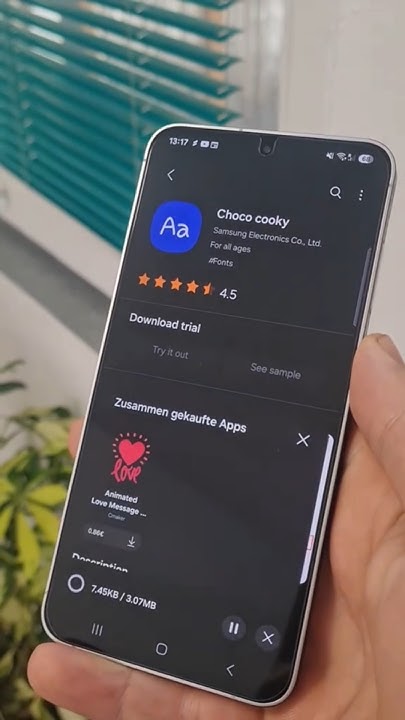
Customize your Samsung phone's look! Learn how to easily change system fonts, adjust font size, and even download new fonts to personalize your device.
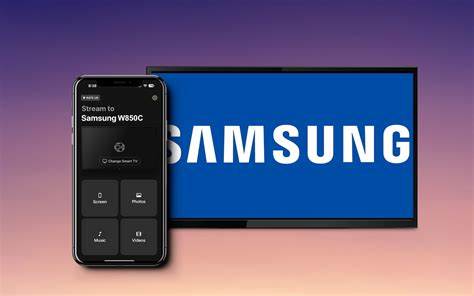
Learn how to connect your Samsung TV to Alexa effortlessly. This guide covers using SmartThings, setting up voice commands, and troubleshooting common issues for seamless control.
Screen recording with audio on your iPhone in April 2025 is a simple and powerful feature that allows you to capture your screen activity along with sound from your microphone (and potentially internal audio). By following these steps, you can easily create recordings for various purposes and share them with others.