Updating your iPhone’s operating system, called iOS, is one of the most important things you can do. Each update brings new features, improves performance, and crucially, includes vital security fixes to protect your data and privacy. Ignoring updates leaves your phone vulnerable. I always get a little excited when a new major iOS version comes out because of the new tools and looks it brings, but honestly, the security updates in between are the real reason to keep current.
Updating is generally a simple process, but sometimes you hit a snag, like not enough storage space or a slow download. This guide will walk you through the standard way to update directly on your phone and an alternative method using a computer, covering common issues you might face.
Before You Update: Essential Preparations
Taking a few minutes to prepare can save you headaches during the update process.
- Check Compatibility: While this guide shows how to update, remember that not every iPhone model can run the absolute latest iOS version. Apple stops supporting older devices after several years. Your iPhone will only show updates that are compatible with your specific model, so you usually don’t need to worry about this if an update appears in your settings.
- Back Up Your iPhone: This is critical. While updates usually go smoothly, things can sometimes go wrong. Having a recent backup means you won’t lose your photos, contacts, apps, and settings if something unexpected happens. You have two main options:
- iCloud Backup: Connect to Wi-Fi, go to Settings > [Your Name] > iCloud > iCloud Backup, and tap Back Up Now. Make sure you have enough iCloud storage.
- Computer Backup: Connect your iPhone to a computer. On a Mac running macOS Catalina or later, open Finder. On a Windows PC or a Mac running macOS Mojave or earlier, open iTunes. Select your iPhone when it appears. Choose to back up to “This Computer” and check the box to encrypt your local backup (this is important to back up sensitive data like passwords and health information). Click “Back Up Now”.
- Ensure Prerequisites:
- Connect to Wi-Fi: You need a stable internet connection to download the update file, especially for Over-The-Air (OTA) updates. Updates can be large.
- Plug into Power: The installation process can take time and uses battery. Your iPhone needs to be charged at least 50% or, better yet, plugged into a power source. Updates might not even start installing below a certain battery percentage.
- Check Storage Space: Updates require free space on your iPhone for the download file and installation process. Go to Settings > General > iPhone Storage to see how much space is available. If you’re low, you might need to delete unused apps, photos, or videos, or update using a computer (which often requires less space on the phone itself). I’ve been caught out by low storage before, so checking beforehand saves hassle.
Method 1: Update Directly on Your iPhone (Over the Air – OTA)
This is the most common and easiest way to update your iPhone.
- Open Settings: Tap the Settings app icon on your home screen.
- Go to General: Scroll down and tap on General.
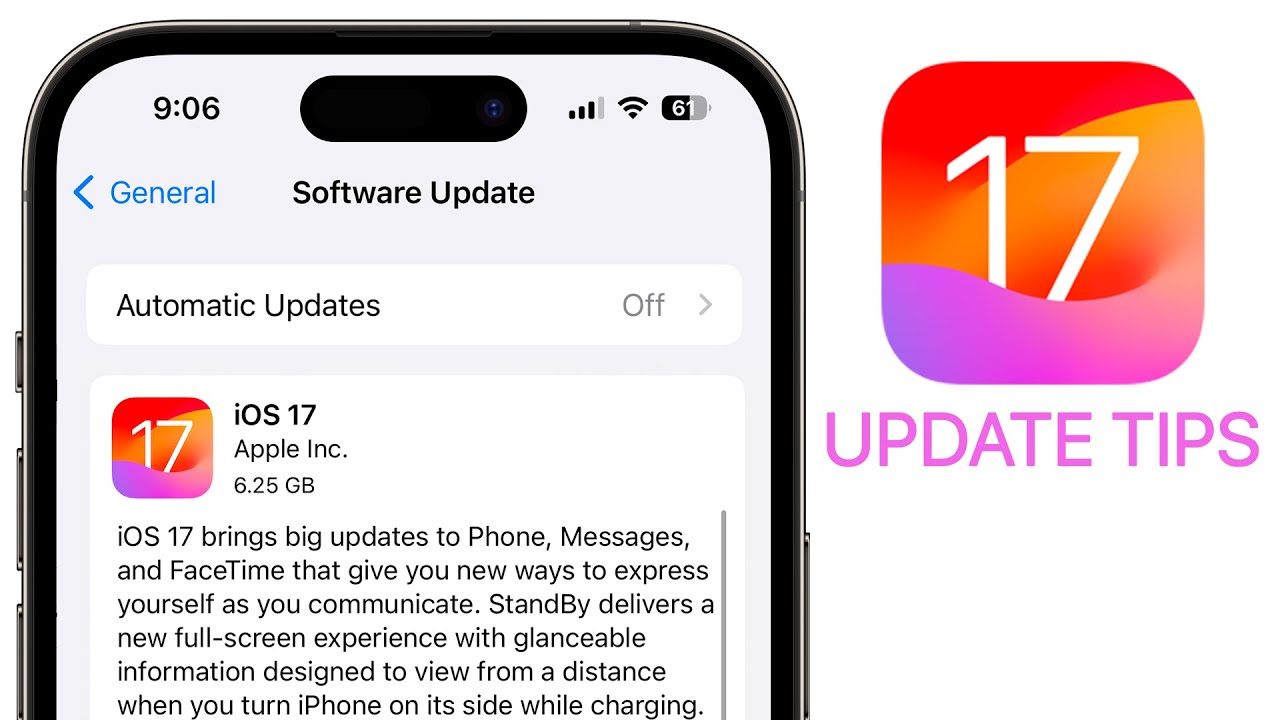
- Tap Software Update: In the General settings, tap on Software Update.
- Check for Update: Your iPhone will connect to Apple’s servers to check for available updates. You’ll see “Checking for Update…”.
- View Available Update: If an update is available for your iPhone, you will see information about the latest iOS version, including the version number and details about what’s included (features, security fixes).
- Download and Install: Tap Download and Install.
- Enter Passcode: You might be asked to enter your iPhone’s passcode.
- Agree to Terms: Read the Terms and Conditions and tap Agree. Tap Agree again to confirm.
- Wait for Download & Installation: Your iPhone will start downloading the update file. This can take some time depending on the update size and your Wi-Fi speed. Once downloaded, it will prepare the update, then verify it. Finally, it will ask you to install. Tap Install Now.
- Installation Process: Your iPhone will restart to install the update. You’ll see an Apple logo and a progress bar. Do not interrupt this process. Keep your phone connected to power and Wi-Fi.
Once the installation is complete, your iPhone will restart to the lock screen, now running the latest version of iOS.
Method 2: Update Using a Computer (Finder or iTunes)
If you have trouble updating over the air, or if your iPhone is low on storage, updating using a computer is a reliable alternative.
- If you have a Mac running macOS Catalina (10.15) or later: You will use Finder.
- If you have a Windows PC or a Mac running macOS Mojave (10.14) or earlier: You will use iTunes. Make sure you have the latest version of iTunes installed.
Here’s the process:
- Connect iPhone: Plug your iPhone into your computer using a USB cable.
- Open Finder or iTunes:
- On a Mac (Catalina or later): Open a Finder window.
- On a Windows PC or Mac (Mojave or earlier): Open iTunes.
- Select Your iPhone: Your iPhone should appear in the Finder sidebar (under Locations) or as a small phone icon near the top left in iTunes. Click on it.
- Go to Summary/General: In Finder, make sure you are on the General tab. In iTunes, make sure you are on the Summary tab.
- Check for Update: Click the Check for Update button.
- Download and Update: If an update is available, you’ll see a prompt. Click Download and Update.
- Follow Prompts: Read and agree to any terms and conditions. Your computer will download the iOS software file.
- Initiate Installation: Once the download is complete, click Update. You might be asked to enter your iPhone’s passcode on the phone itself.
- Wait for Installation: The computer will supervise the installation process. Your iPhone will restart during this time. Keep it connected to the computer until the process is finished and your iPhone restarts to the lock screen.
Updating via computer can sometimes resolve issues encountered with OTA updates and offloads the large download file to your computer, requiring less free space on the iPhone itself (though some space is still needed for the installation).
Troubleshooting Common Update Issues
Encountering a problem? Here are solutions for frequent issues:
- Update Not Showing Up:
- Ensure your iPhone model is compatible with the latest iOS version (check Apple’s website if unsure, though the phone usually handles this).
- Restart your iPhone.
- Check your network connection.
- If you previously installed a beta version of iOS, you might have a beta profile installed that prevents receiving public updates. Go to Settings > General > VPN & Device Management (or “Profiles”). If you see an iOS Beta Software Profile, tap it and select Remove Profile. Restart your phone and check for updates again.
- Unable to Check for Update: Your iPhone can’t reach the Apple update server. Check your Wi-Fi connection or try connecting to a different Wi-Fi network. Restart your iPhone.
- Download is Stuck or Very Slow: This is often a network issue. Check your Wi-Fi speed. Try pausing the download (if possible, sometimes by leaving and returning to the Software Update screen) and resuming. Restart your iPhone. Try updating via the computer method instead.
- Insufficient Storage: The most common issue with OTA. Go to Settings > General > iPhone Storage. See what is using the most space and delete files, photos, videos, or apps you no longer need. Alternatively, update using the computer method (Method 2), which requires less free space directly on the phone.
- Verification Failed: Your iPhone couldn’t verify the integrity of the downloaded update file. This can happen due to network issues. Tap “Try Again”. If it keeps failing, restart your iPhone and try again, or update using the computer method.
- Update Failed During Installation: This is less common but more concerning.
- Ensure your phone was connected to power and Wi-Fi/computer throughout the process.
- Try the update again (both OTA and computer methods).
- If your iPhone seems stuck or won’t restart properly, you might need to put it into Recovery Mode and restore it using a computer. This is a more advanced step and will require erasing the phone and restoring from a backup. Search for specific guides on putting your model iPhone into recovery mode or contact Apple Support if you’re not comfortable with this step.
Updating your iPhone keeps it running smoothly, introduces new features, and, most importantly, protects you with the latest security patches. Whether you choose the simple over-the-air method or use a computer, following these steps will help you keep your device up-to-date and secure.