Business
Auto
Editorials
Finance
Health
Tech
By
James Oliver
April 23, 2025
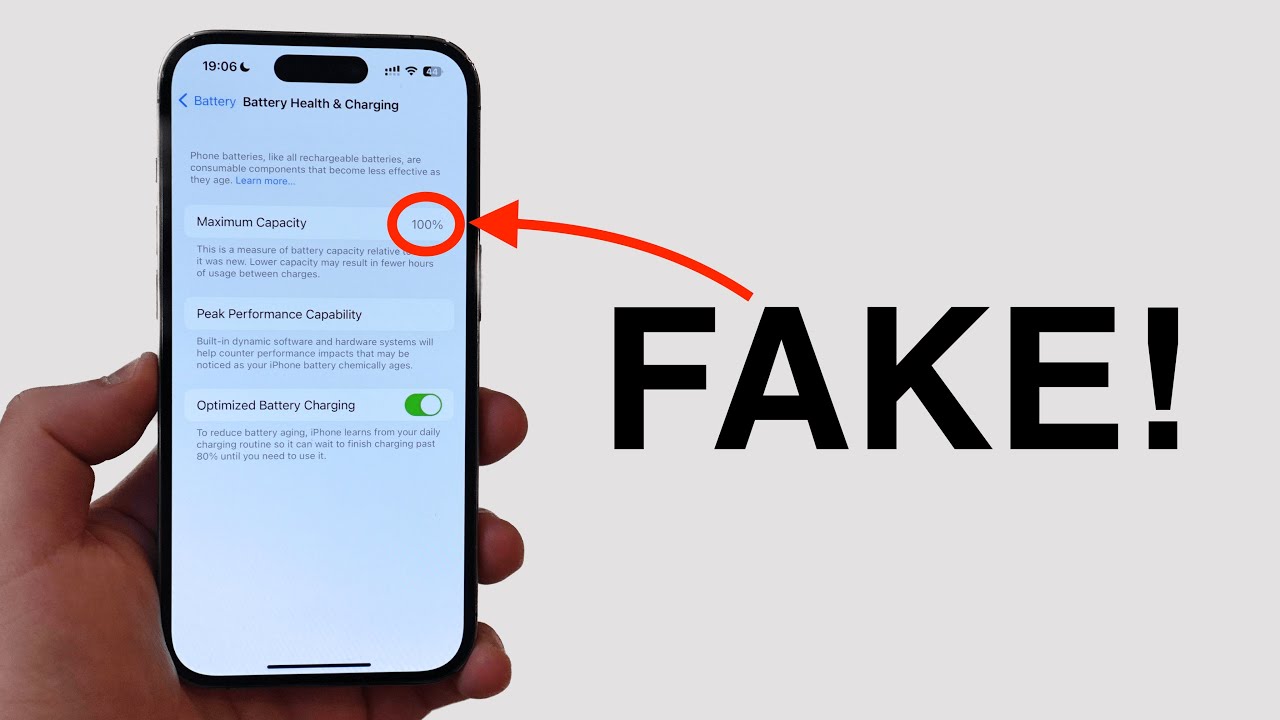
How to Check Battery health on iPhone
Tech
By
Elijah Lucas
April 18, 2025
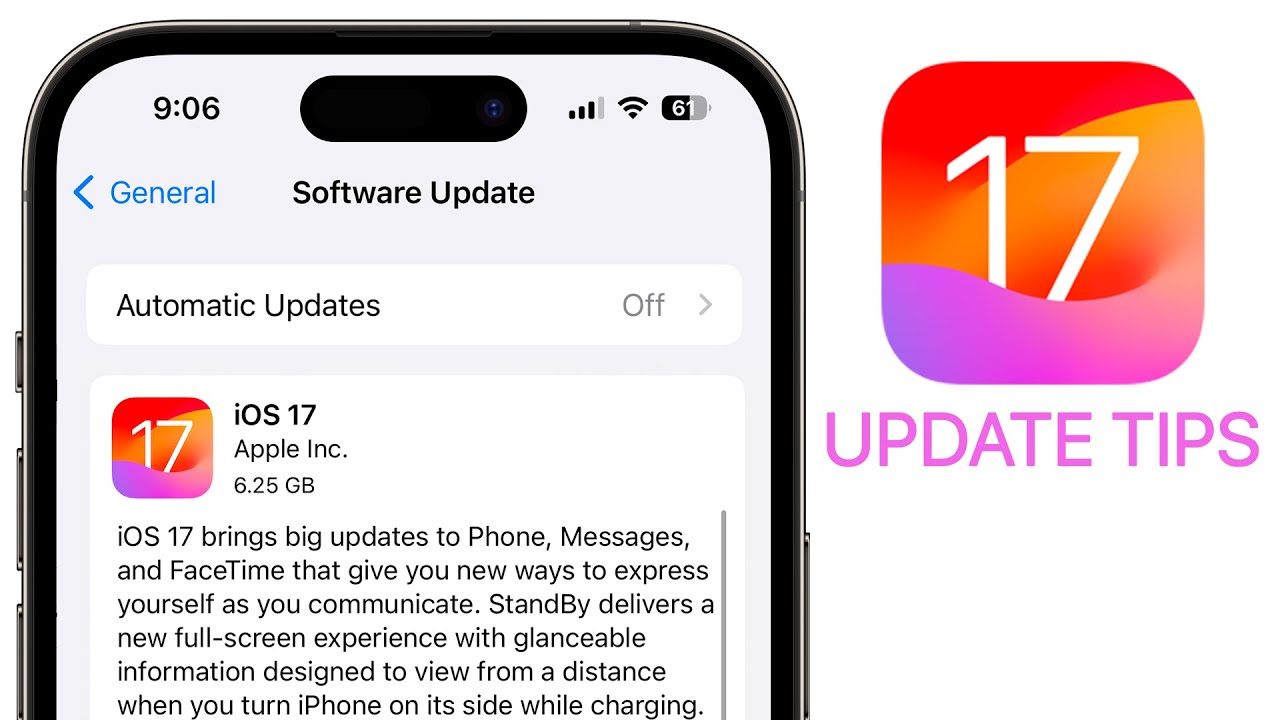
How to Update iPhone to the Latest iOS Version
Editorials
By
James Oliver
April 17, 2025
How to Set Up a New MacBook Step By Step
Editorials
By
Elijah Lucas
April 16, 2025
How to Reset a MacBook Without Losing Data
Tech
By
Elijah Lucas
April 15, 2025
How to Screen Record With Audio on iPhone
Editorials
By
Elijah Lucas
April 15, 2025
How to Check Maximum Ram Supported by Motherboard
Editorials
By
James Oliver
April 11, 2025
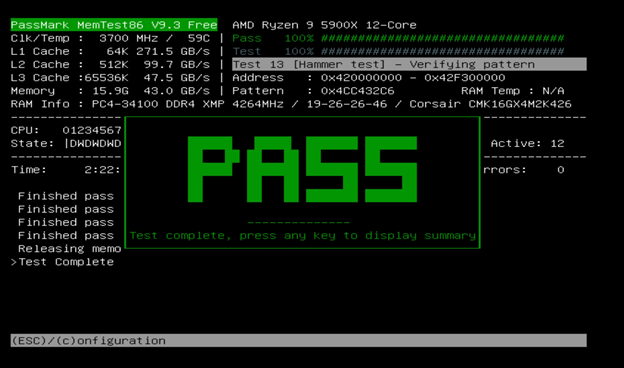
How to test RAM for errors using MemTest86
Tech
By
Elijah Lucas
April 10, 2025
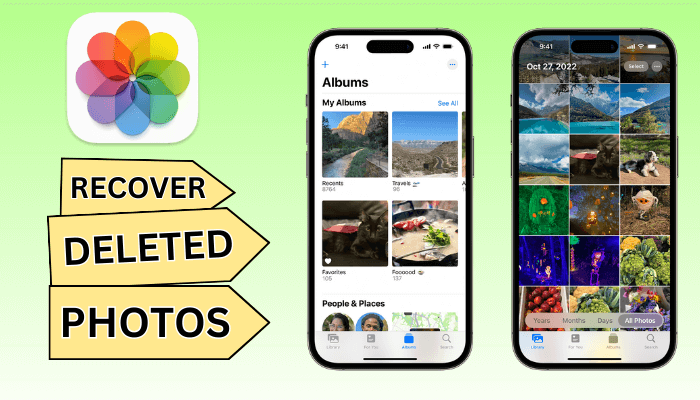
How to Recover Deleted Photos on iPhone without iCloud
Editorials
By
Elijah Lucas
April 7, 2025
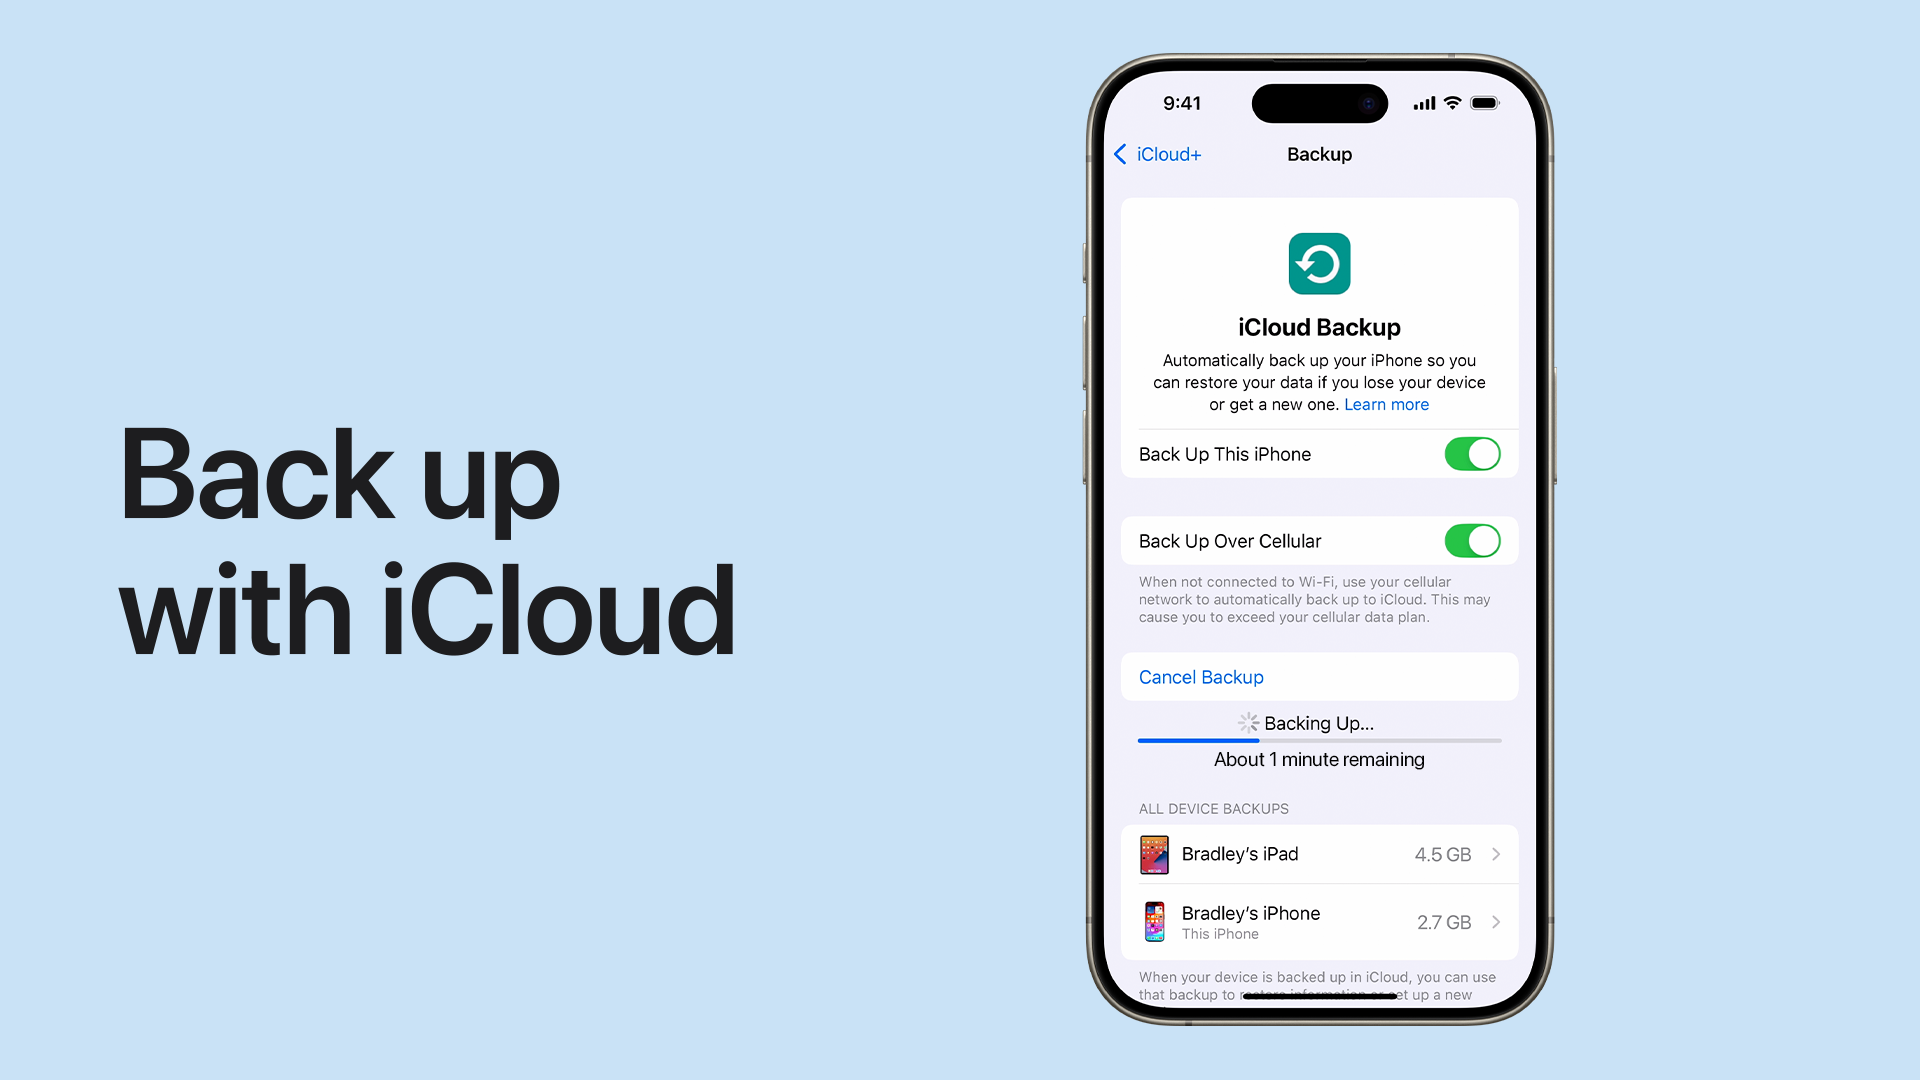
How to back up an iPhone to iCloud
Editorials
By
Elijah Lucas
April 3, 2025
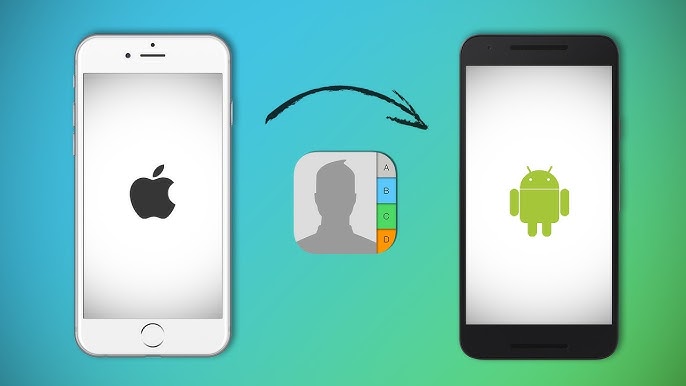
How to transfer contacts from iPhone to Android phone
Editorials
By
Elijah Lucas
April 2, 2025
How to speed up a slow laptop without reinstalling Windows
Editorials
By
James Oliver
April 1, 2025
best free video editing software for youtube
Editorials