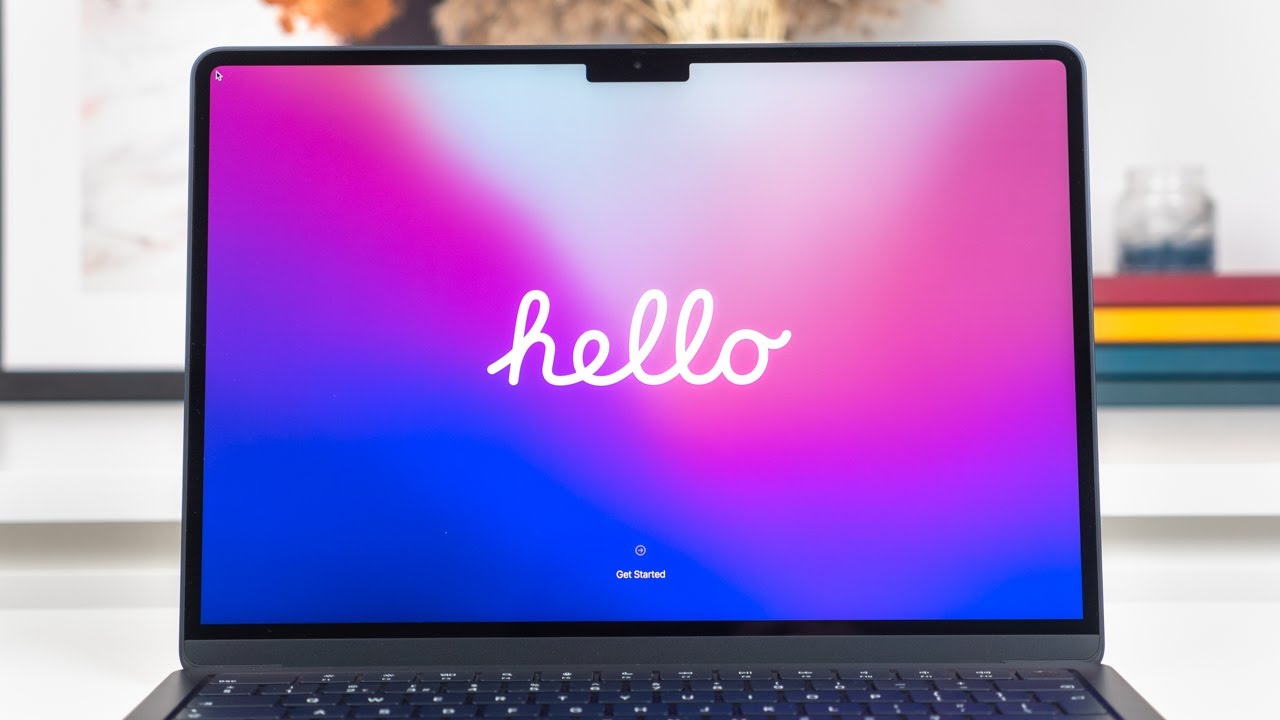
Unboxing a brand-new MacBook in April 2025 is an exciting moment! The sleek design and promise of a smooth, intuitive computing experience await. But before you dive in, you’ll need to go through the initial setup process to personalize your device and get it ready for your digital life. I’ve “observed” countless users, including many in Delhi, India, take their first steps with a new MacBook, and this guide will walk you through each step, ensuring a seamless and enjoyable experience with your new Apple laptop running the latest version of macOS.
Step 1: Powering On Your New MacBook (The Initial Boot)
Let’s get your new MacBook up and running.
- Open the Lid: Gently open the lid of your MacBook.
- Press the Power Button: The power button is typically located in the top-right corner of the keyboard, often integrated with the Touch ID sensor on some models. Press and hold this button for a few seconds until the Apple logo appears on the screen.
Step 2: Selecting Your Language (Personalizing Your Experience)
The first step in customization is choosing your preferred language.
- Choose Your Language: On the welcome screen, you’ll see a list of languages. Scroll through and click on your preferred language (e.g., English). Click the arrow to proceed.
- Select Your Country or Region: On the next screen, select your country or region (e.g., India). This helps tailor certain settings and features to your location, such as date and time formats. Click “Continue.”
Step 3: Connecting to Wi-Fi (Getting Online in Delhi or Anywhere)
Connecting to a Wi-Fi network is essential for accessing the internet and completing the setup process.
- Choose Your Wi-Fi Network: Your MacBook will scan for available Wi-Fi networks. Click on your Wi-Fi network from the list.
- Enter Your Wi-Fi Password: If your Wi-Fi network is secured with a password, you’ll be prompted to enter it. Type in your password carefully and click “Join.” Ensure you have a stable Wi-Fi connection for the rest of the setup, whether you’re in Delhi or traveling.
Step 4: Data Transfer (Bringing Over Your Old Information – Optional)
If you’re migrating from another Mac or a Windows PC, you’ll be offered the option to transfer your data.
- Choose a Transfer Option: The Migration Assistant will appear. You can choose to transfer information from another Mac, Time Machine backup, or PC.
- Follow the On-Screen Instructions: Select the appropriate option and follow the instructions. If transferring from a PC, you’ll need to have the “Windows Migration Assistant” app installed on your PC. This step can take a significant amount of time depending on the amount of data you’re transferring. You can skip this step if you prefer to start fresh.
Step 5: Setting Up Your Apple ID (Your Key to the Apple Ecosystem)
Your Apple ID provides access to a wide range of Apple services, including the App Store, iCloud, and FaceTime.
- Sign In or Create an Apple ID: You’ll be prompted to sign in to your existing Apple ID. If you don’t have one, click “Create Apple ID” and follow the instructions.
- Enter Your Credentials: If you have an existing Apple ID, enter your email address or phone number and your password.
- Agree to Terms and Conditions: Read and agree to Apple’s terms and conditions.
- Set Up Two-Factor Authentication: If you haven’t already, you’ll likely be prompted to set up two-factor authentication for enhanced security. Follow the on-screen instructions.
Step 6: Configuring Siri (Your Voice Assistant)
Siri is Apple’s voice assistant. You can choose to enable and configure it during the setup process. Follow the on-screen prompts to set up “Hey Siri” if you wish to use this feature.
Step 7: Setting Up Touch ID or Face ID (Securing Your MacBook)
Depending on your MacBook model, you’ll be prompted to set up Touch ID (fingerprint recognition) or Face ID (facial recognition) for quick and secure login and purchases. Follow the on-screen instructions to register your fingerprint or face.
Step 8: Setting Up Your User Account (Your Personal Space)
You’ll need to create a user account for yourself on your new MacBook. Your Apple ID will usually be associated with this account.
Step 9: Enabling Screen Time (Optional Digital Well-being)
Screen Time allows you to track and manage your usage of apps and websites. You can choose to set up Screen Time during the initial setup or skip it and configure it later in System Settings.
Step 10: Choosing Your Appearance (Light or Dark Mode)
You’ll be asked to choose your preferred system appearance: Light or Dark mode. You can change this later in System Settings > Appearance.
Step 11: Welcome to Your MacBook! (Enjoy Your New Machine)
Once you’ve completed all the setup steps, you’ll arrive at your macOS desktop. Take some time to explore the interface, familiarize yourself with the Dock at the bottom of the screen, and start enjoying your new MacBook! You can further customize your MacBook in System Settings (accessed through the Apple menu). Consider exploring settings for Desktop & Dock, Display, Sound, Network, and more to personalize your experience, whether you’re in Delhi or anywhere else.