James graduated with a B.B.A. in Finance and spent 9 years split between financial education content and automotive ownership guides. He focuses on budgeting systems, credit basics, simple investing frameworks, and car care that saves money. His buyer’s guides for first-time car owners earned a community choice award from a national forum. He enjoys weekend road trips and vintage camera repairs. James edits money explainers, writes ownership cost breakdowns, and publishes seasonal maintenance checklists.
Protect your sensitive data! Learn how to encrypt a folder in Windows 11 using built-in features like EFS and BitLocker, or reliable third-party software.
how to enable Battery Protection on your Samsung Galaxy to extend battery life. This guide covers steps for all One UI versions, explaining how to limit charging for optimal battery health.
Fix Wi-Fi not working on Windows 10/11 with this step-by-step guide. Troubleshoot network issues, update drivers, reset settings, and restore your connection.
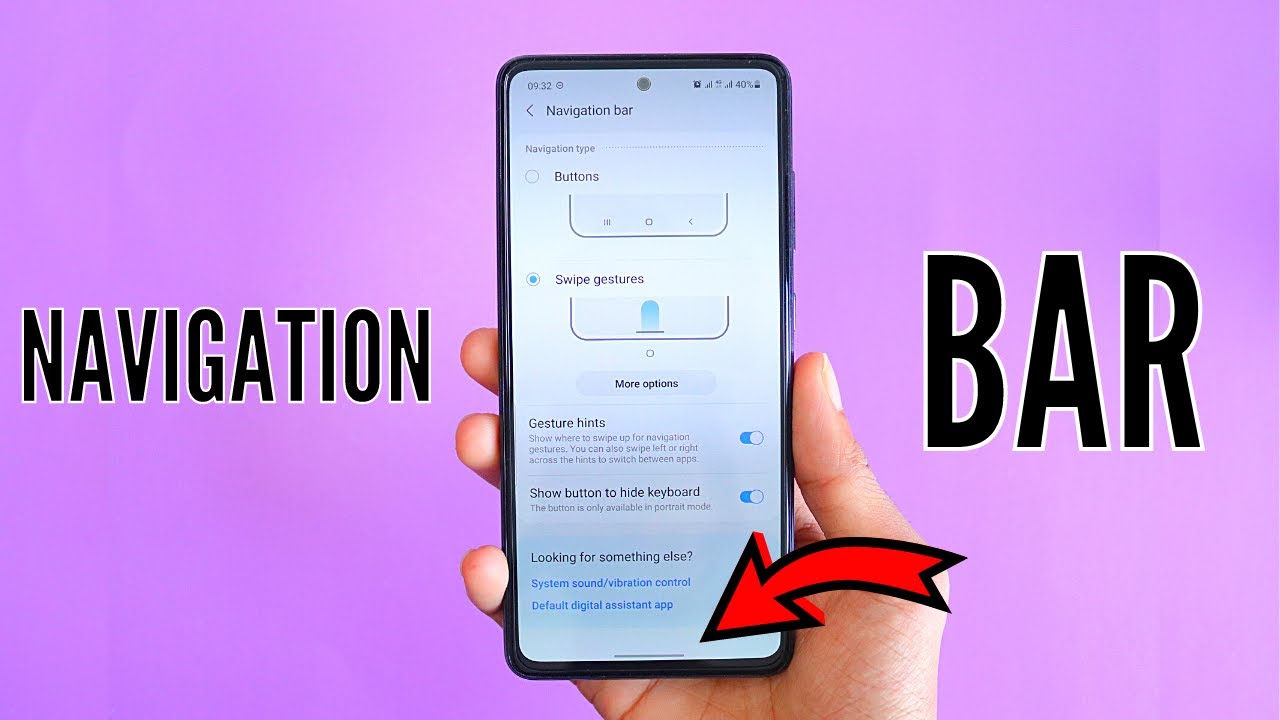
Learn how to use hidden gestures in One UI on your Samsung Galaxy phone, including Smart View, one-handed mode, quick screenshots, and more for enhanced usability.
Learn multiple keyboard shortcuts to shut down your Windows 10 PC, including Alt + F4, Windows key + X, Ctrl + Alt + Del, and custom shortcuts. Master efficient power management.
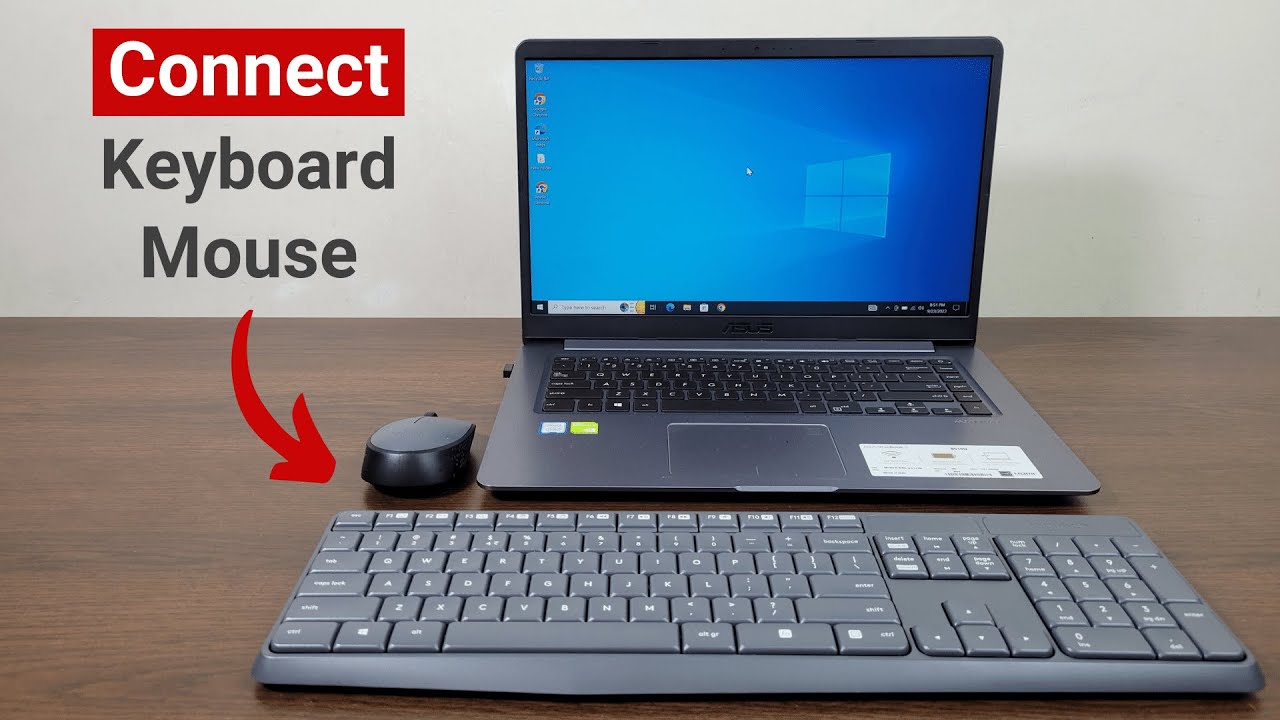
Learn how to connect a wireless mouse and keyboard to your laptop using a USB receiver or Bluetooth. Follow step-by-step setup instructions and troubleshooting tips.
Learn how to format a USB drive using CMD in Windows. Our step-by-step guide shows you how to use Diskpart to clean, format, and fix any corrupted USB drive.
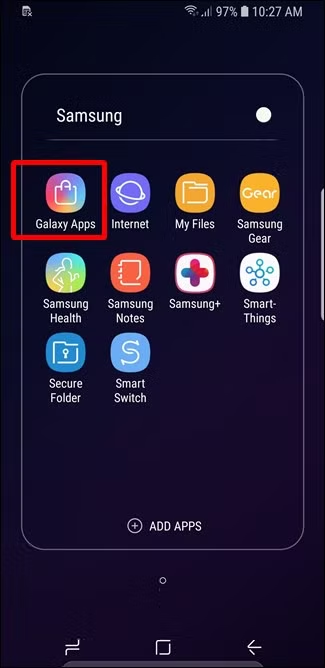
Learn how to clear browsing history on Samsung Internet with our simple, step-by-step guide. Protect your privacy and manage data easily on your Samsung Galaxy device.
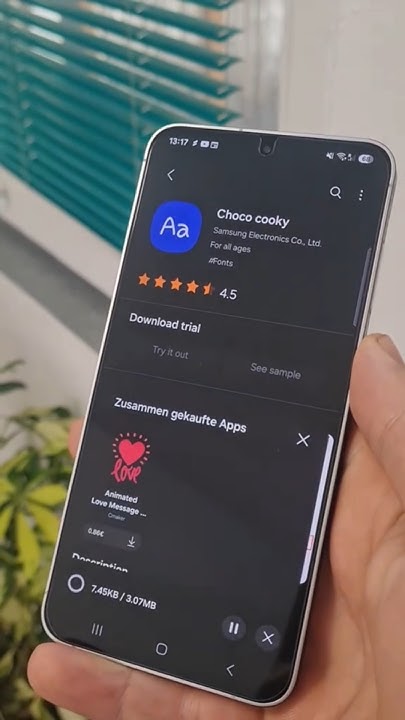
Customize your Samsung phone's look! Learn how to easily change system fonts, adjust font size, and even download new fonts to personalize your device.