Business
Auto
Editorials
Finance
Health
Tech
By
James Oliver
June 14, 2025
How to Fix Wifi Not Working in Windows 10/11
Tech
By
James Oliver
June 13, 2025
How to fix Samsung Phone Not Charging Properly
Tech
By
James Oliver
June 11, 2025
How to Use Hidden Gestures in One UI
Tech
By
James Oliver
June 7, 2025
How to Shut Down Computer Using Keyboard in Windows 10
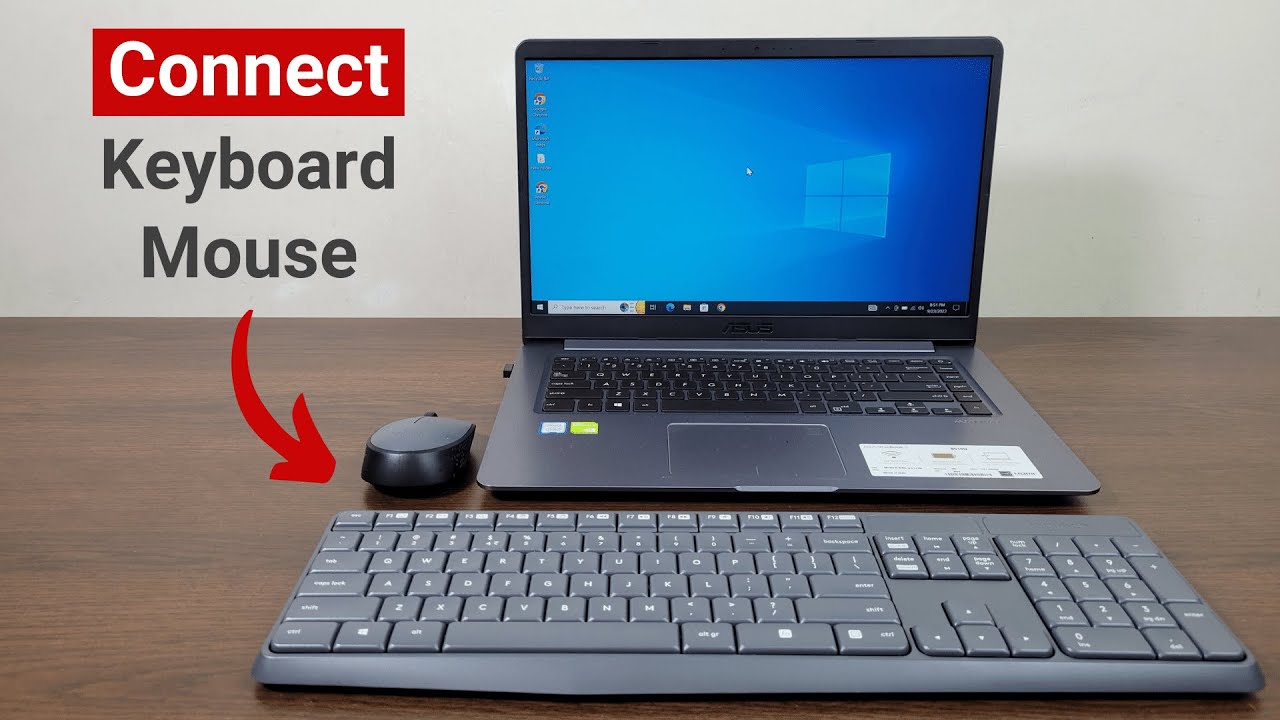
Tech
By
James Oliver
June 6, 2025
How to Connect Wireless Mouse and Keyboard to a Laptop
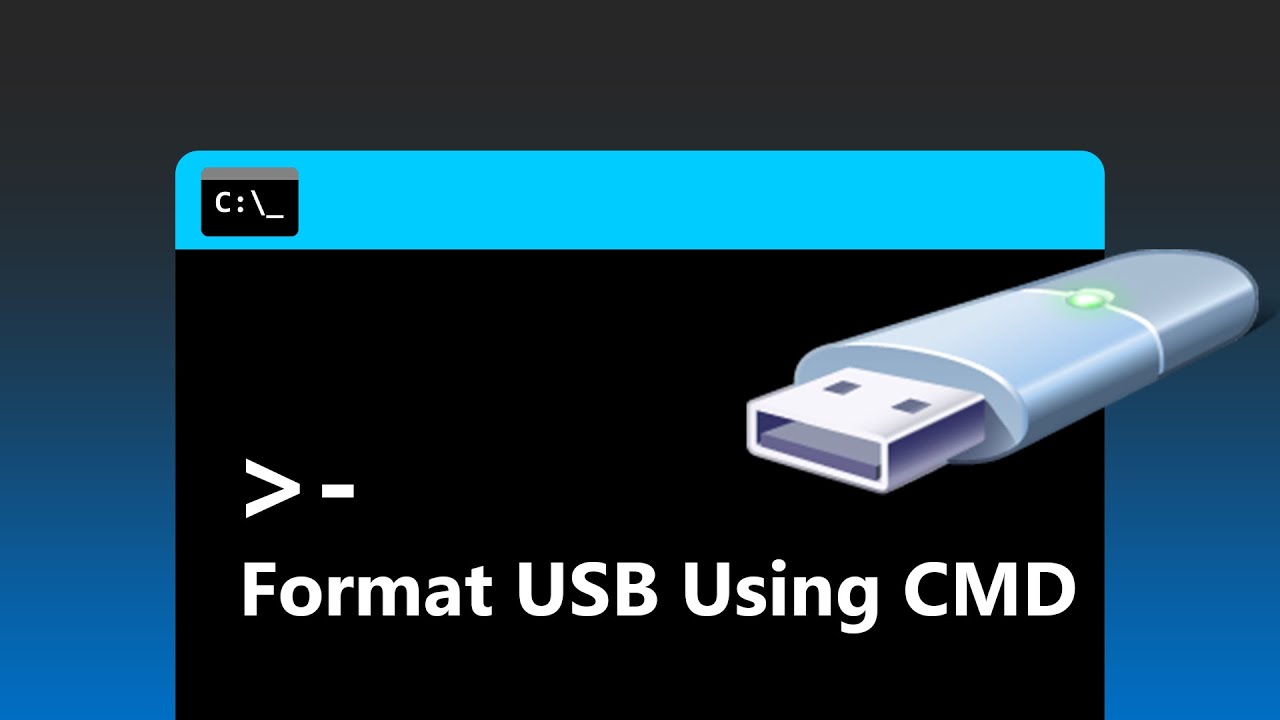
Tech
By
James Oliver
June 4, 2025
How to Format a USB Drive using CMD in Windows
Tech
By
James Oliver
June 3, 2025
How to Clear Browsing History on Samsung Internet
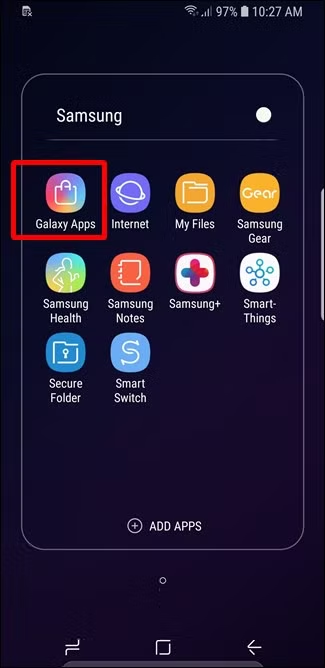
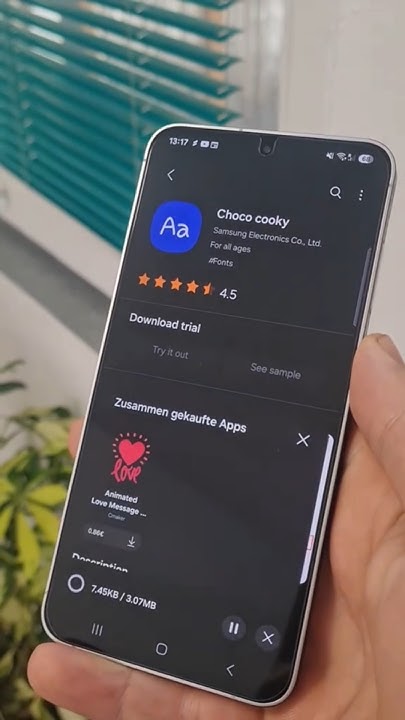
Tech
By
James Oliver
May 31, 2025
How to Change Fonts on Samsung Phone
Editorials
By
James Oliver
May 30, 2025
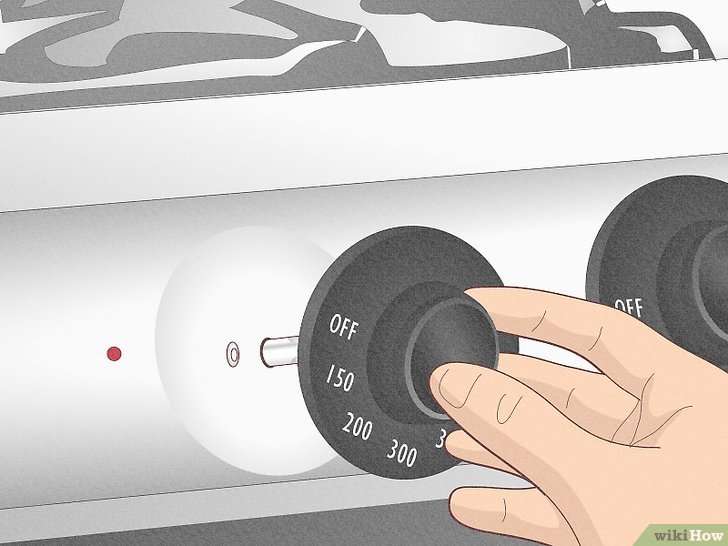
How to Calibrate Samsung Oven Temperature
Editorials
By
James Oliver
May 23, 2025
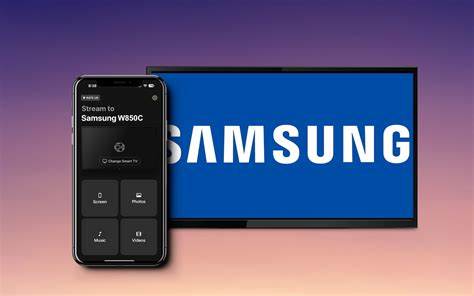
How to Screen Mirror iPhone to Samsung TV
Editorials
By
James Oliver
May 21, 2025
How to Connect Samsung TV to Alexa
Editorials
By
James Oliver
May 20, 2025
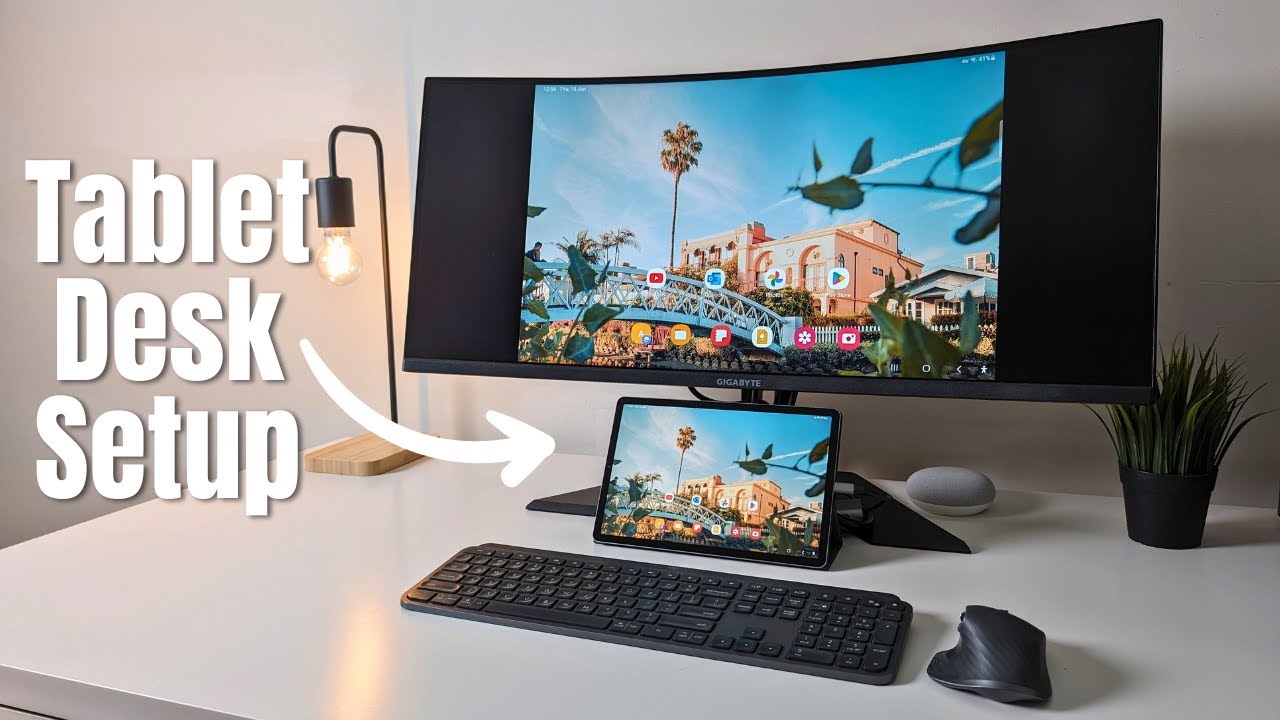
How to Connect Samsung Tablet to External Monitor
Editorials