Business
Auto
Editorials
Finance
Health
Tech
By
James Oliver
May 19, 2025
How to Defragment Hard Drive in Windows 10
Editorials
By
James Oliver
May 17, 2025
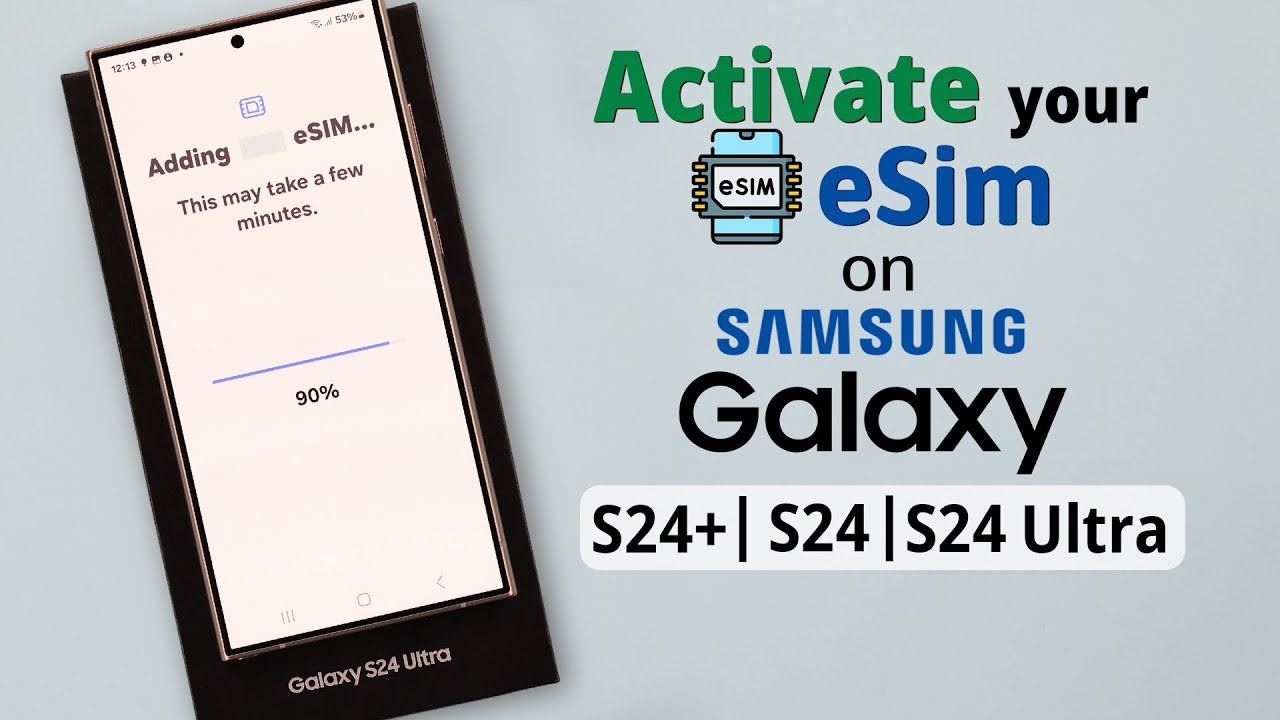
How to Activate eSIM on Samsung Galaxy S24
Editorials
By
James Oliver
May 16, 2025
How to Unlock Samsung Phone without Password
Tech
By
James Oliver
May 15, 2025
How to Connect Bluetooth Headphones to Samsung TV
Tech
By
James Oliver
May 14, 2025
How to Buy Best Laptop for 2025
Tech
By
James Oliver
May 13, 2025
How to Pair Samsung Galaxy Watch 6 with iPhone
Tech
By
James Oliver
May 10, 2025
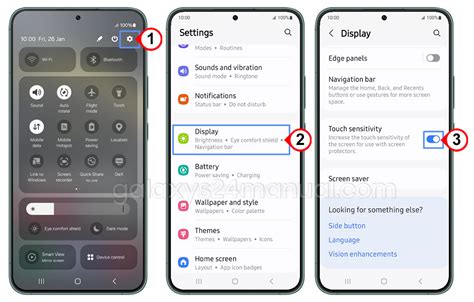
Samsung How to Increase Touch Sensitivity
Tech
By
James Oliver
May 9, 2025
How to Share Files Using Quick Share on Samsung
Tech
By
James Oliver
May 8, 2025
How to Connect Samsung Tablet to Monitor
Tech
By
James Oliver
May 7, 2025
How to Become an AI engineer
Tech
By
James Oliver
May 6, 2025
How to Code Using Chatgpt
Tech
By
James Oliver
May 5, 2025
How to Use Chatgpt for Coding Help
Editorials